01
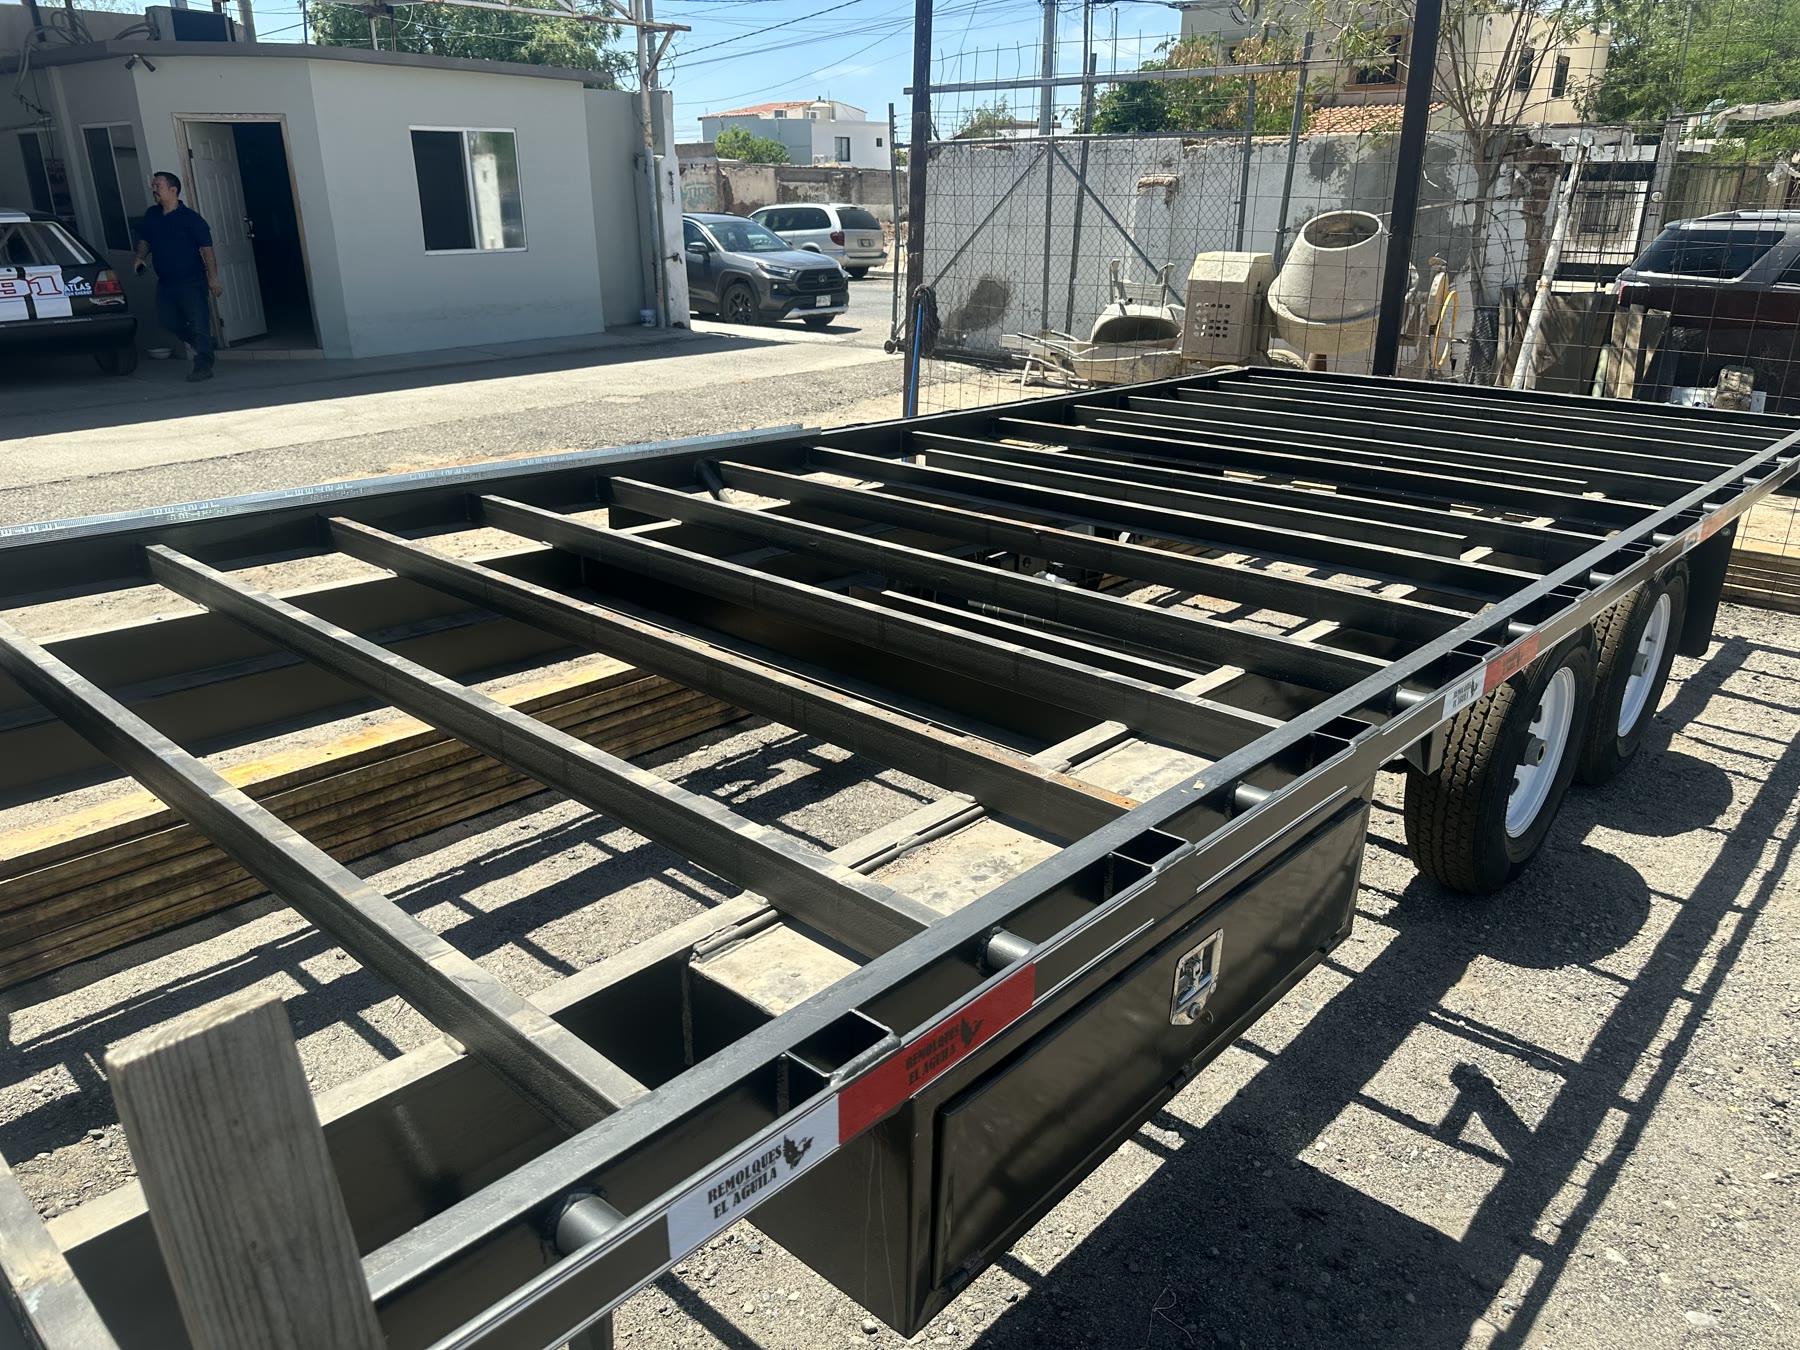
Start with the steel chassis
The platform begins on its trailer chassis with the base structure exposed for inspection before floor layers close it in.
 Call +1 (626) 770-6764
Inside the Rise20 build
These original photographs document the first Rise20 build—from its steel chassis and light-gauge steel framing through sheathing, systems, insulation, exterior-envelope work, and interior close-in.
Documented construction
Specific materials, equipment, and sequencing can vary by configuration and written scope. These images document the original Rise20 build.
The platform begins on its trailer chassis with the base structure exposed for inspection before floor layers close it in.
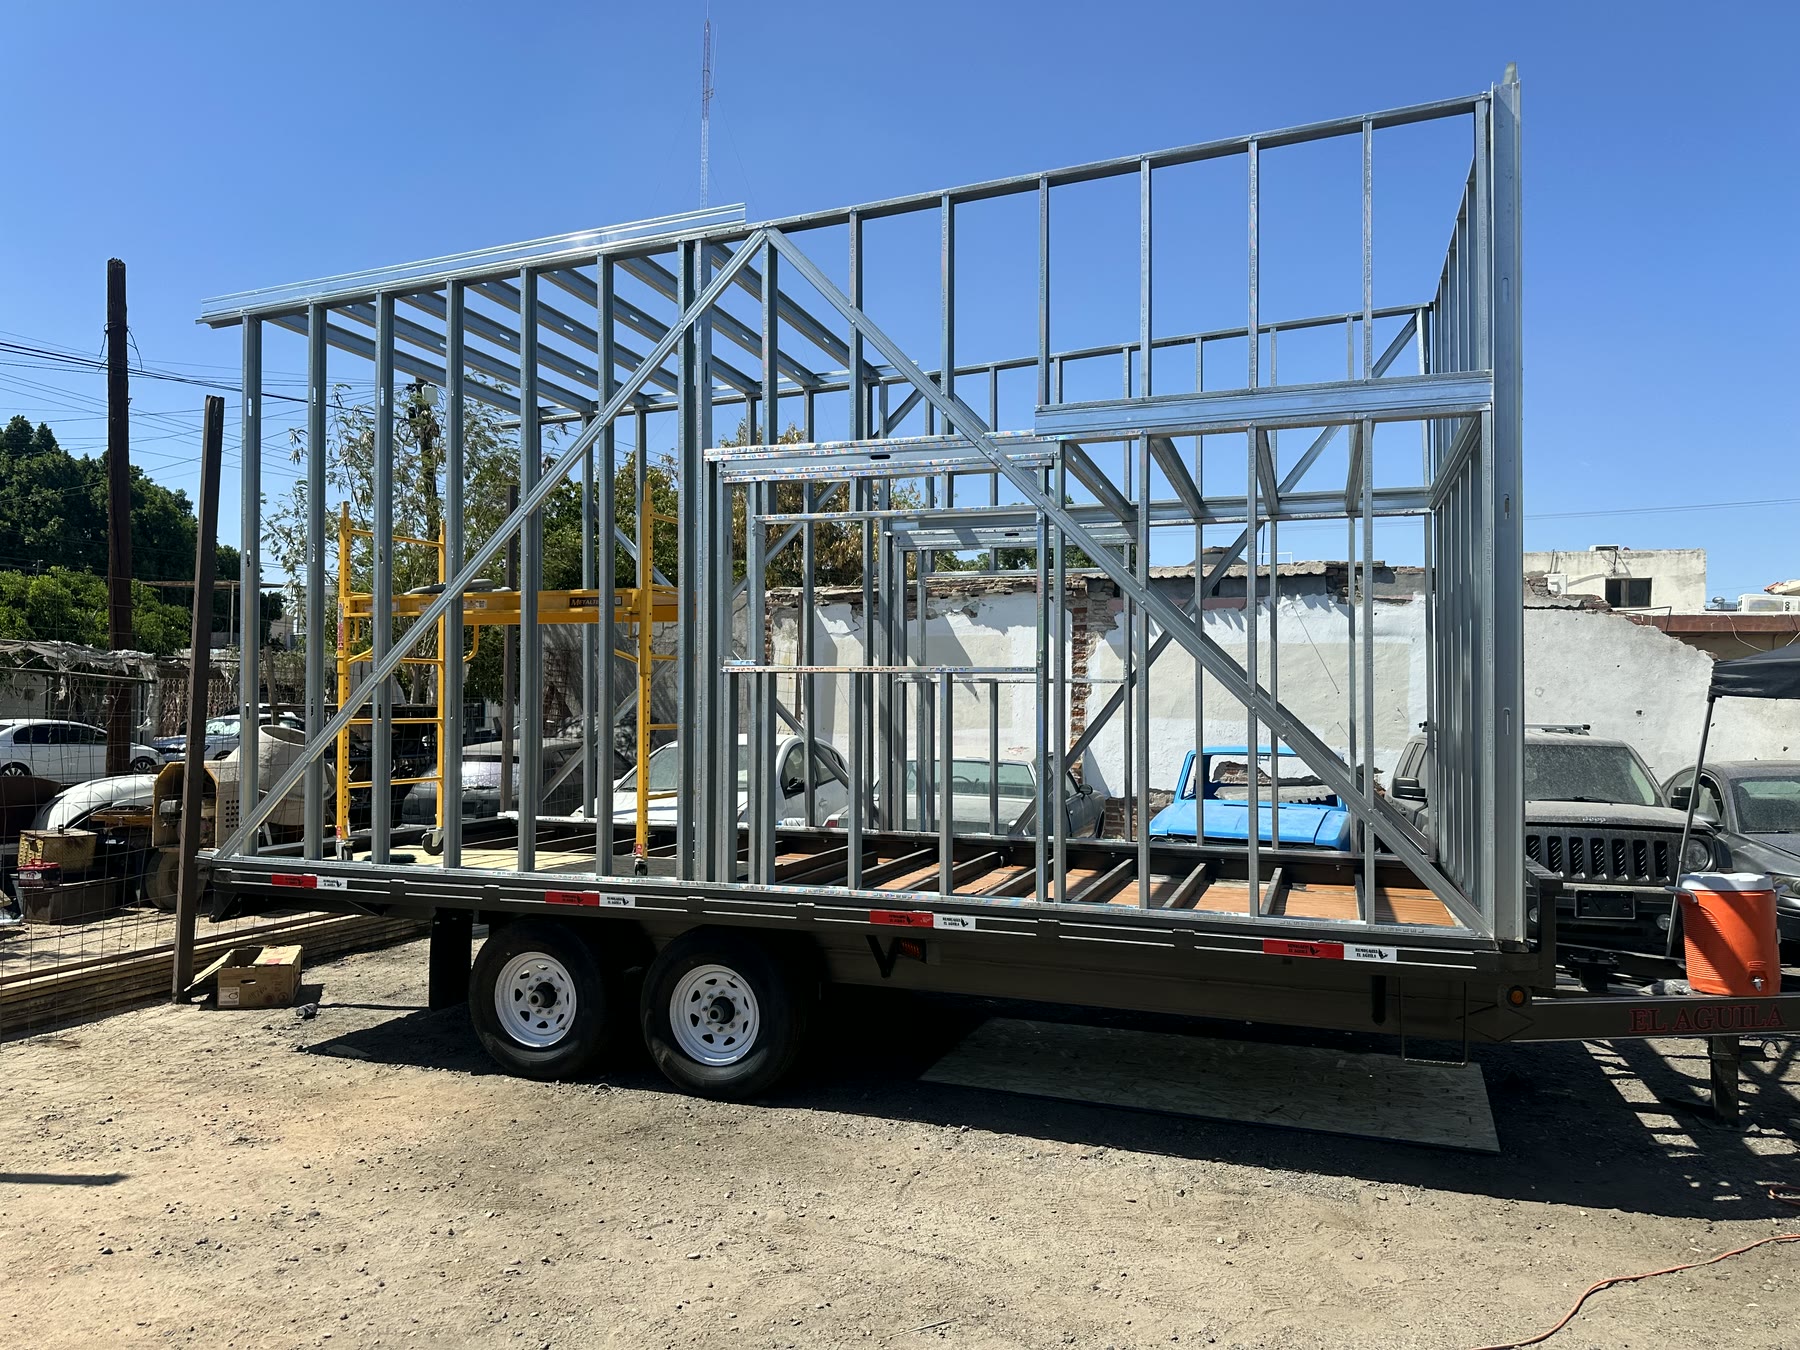
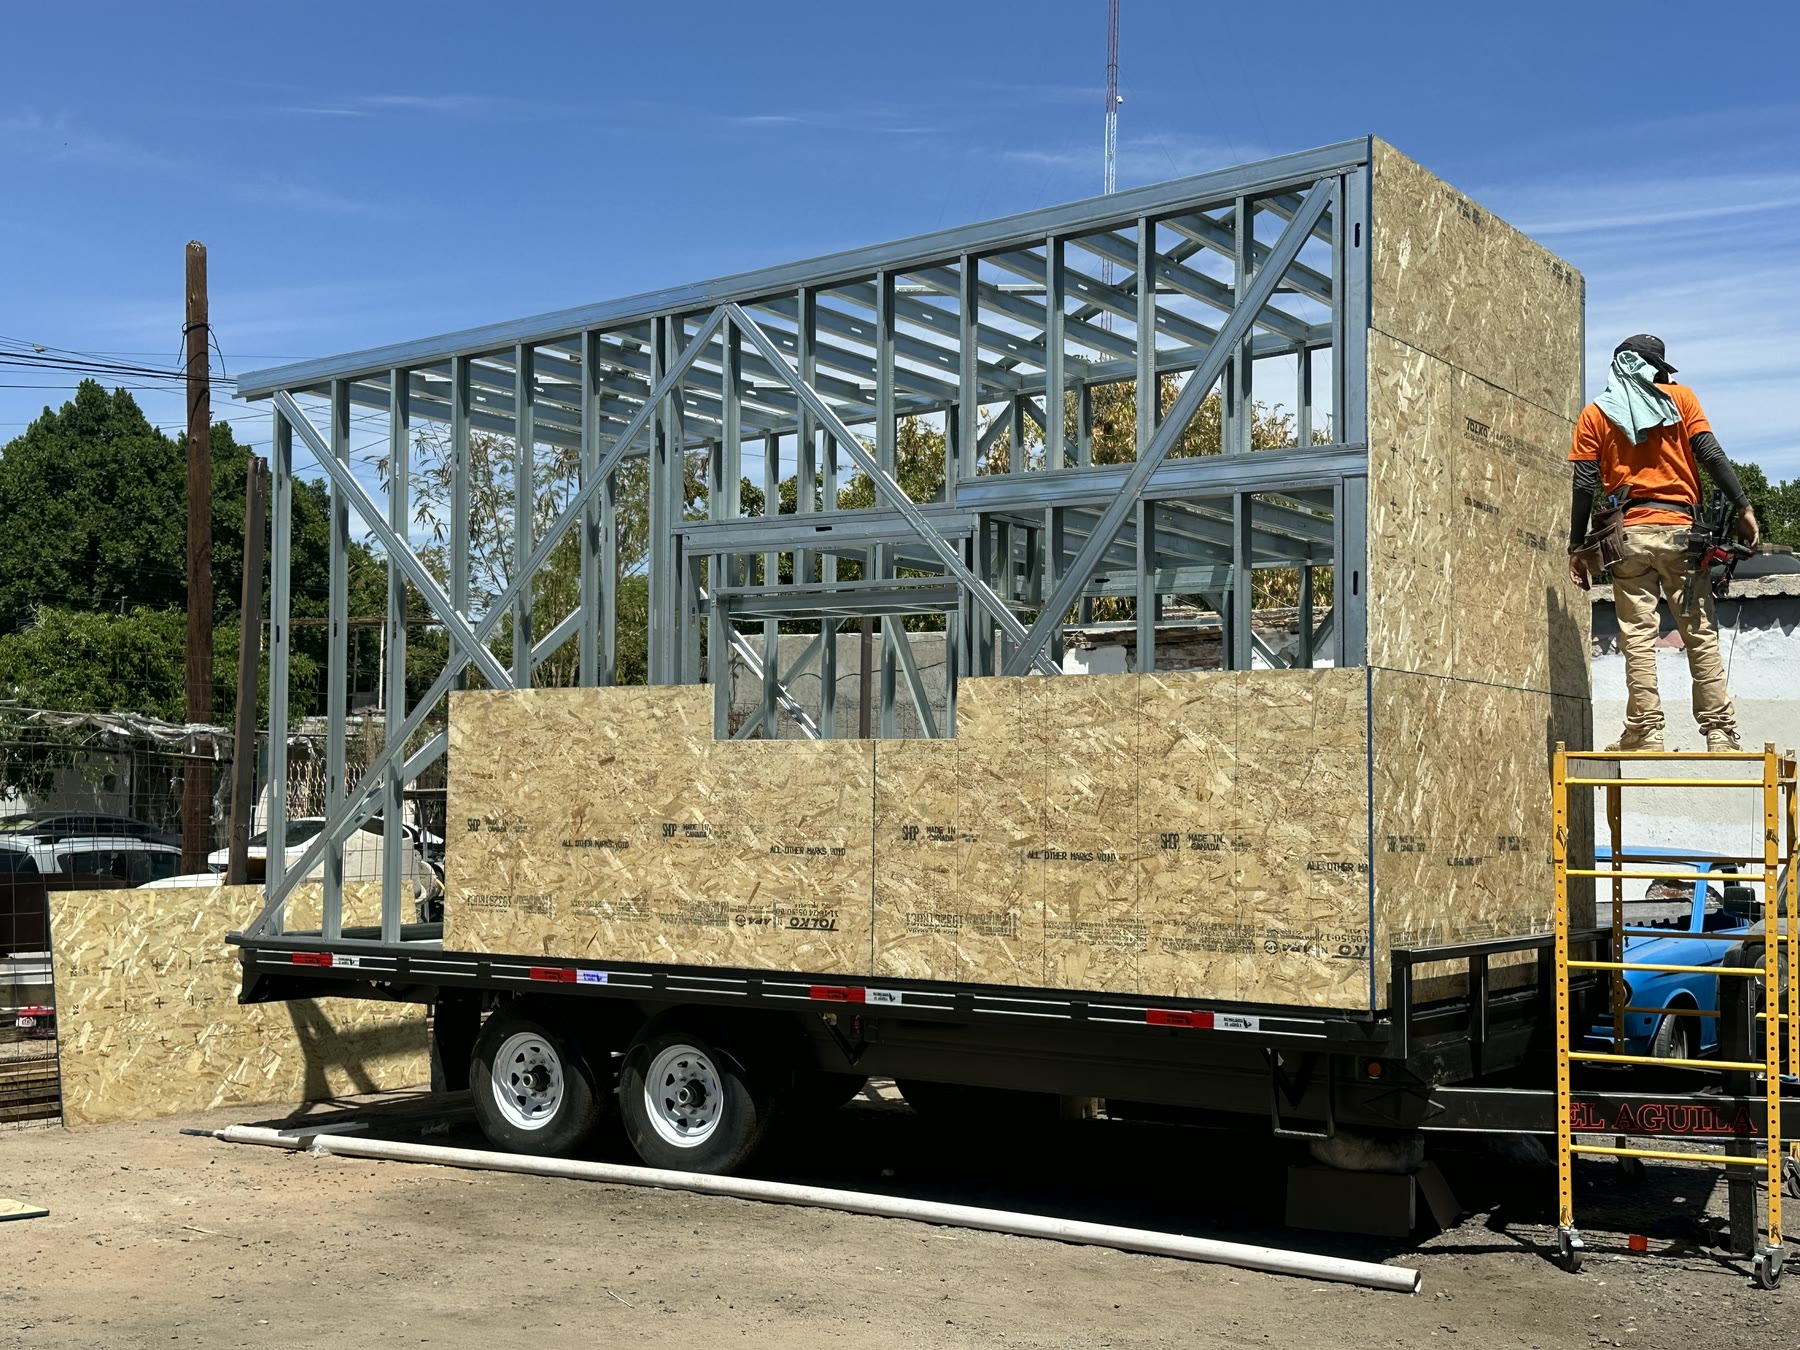
Wall, loft, and roof framing come together before the enclosure hides the connections.
Exterior sheathing begins closing the frame while key openings remain visible.

The sleeping loft and interior partitions define how the compact footprint will work.
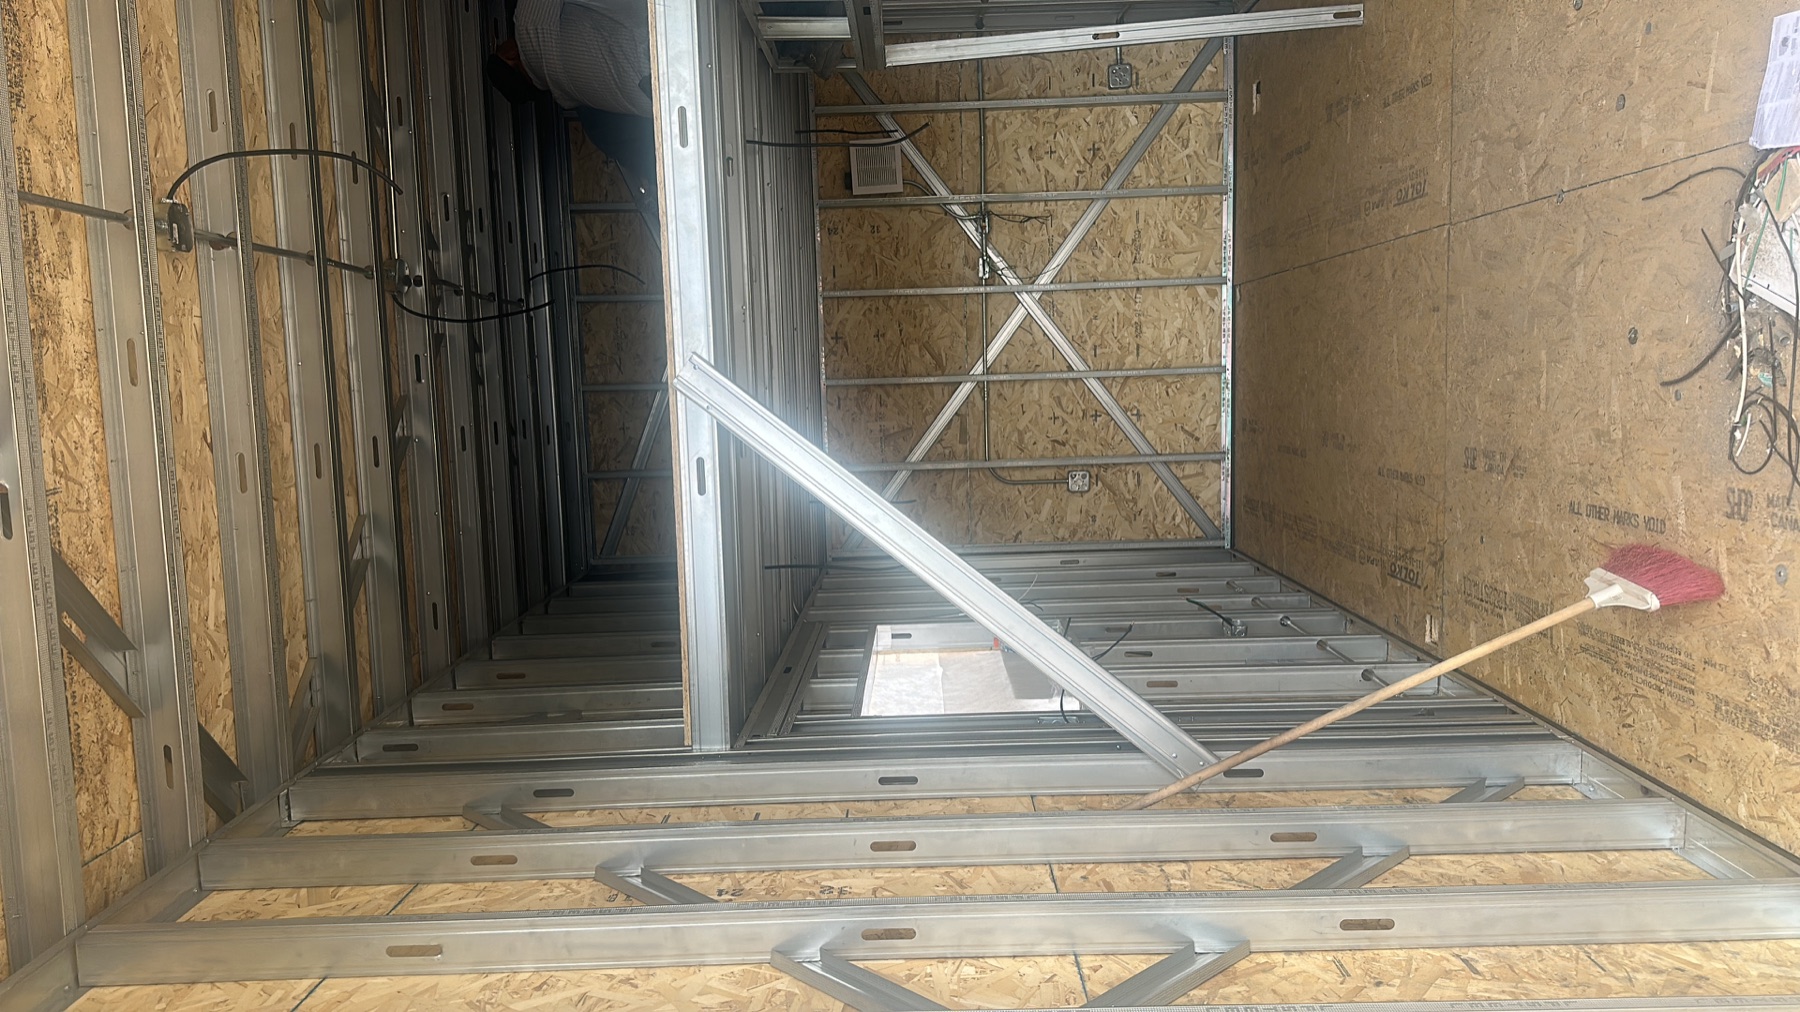
Electrical pathways and connection points are routed before insulation and interior finishes.
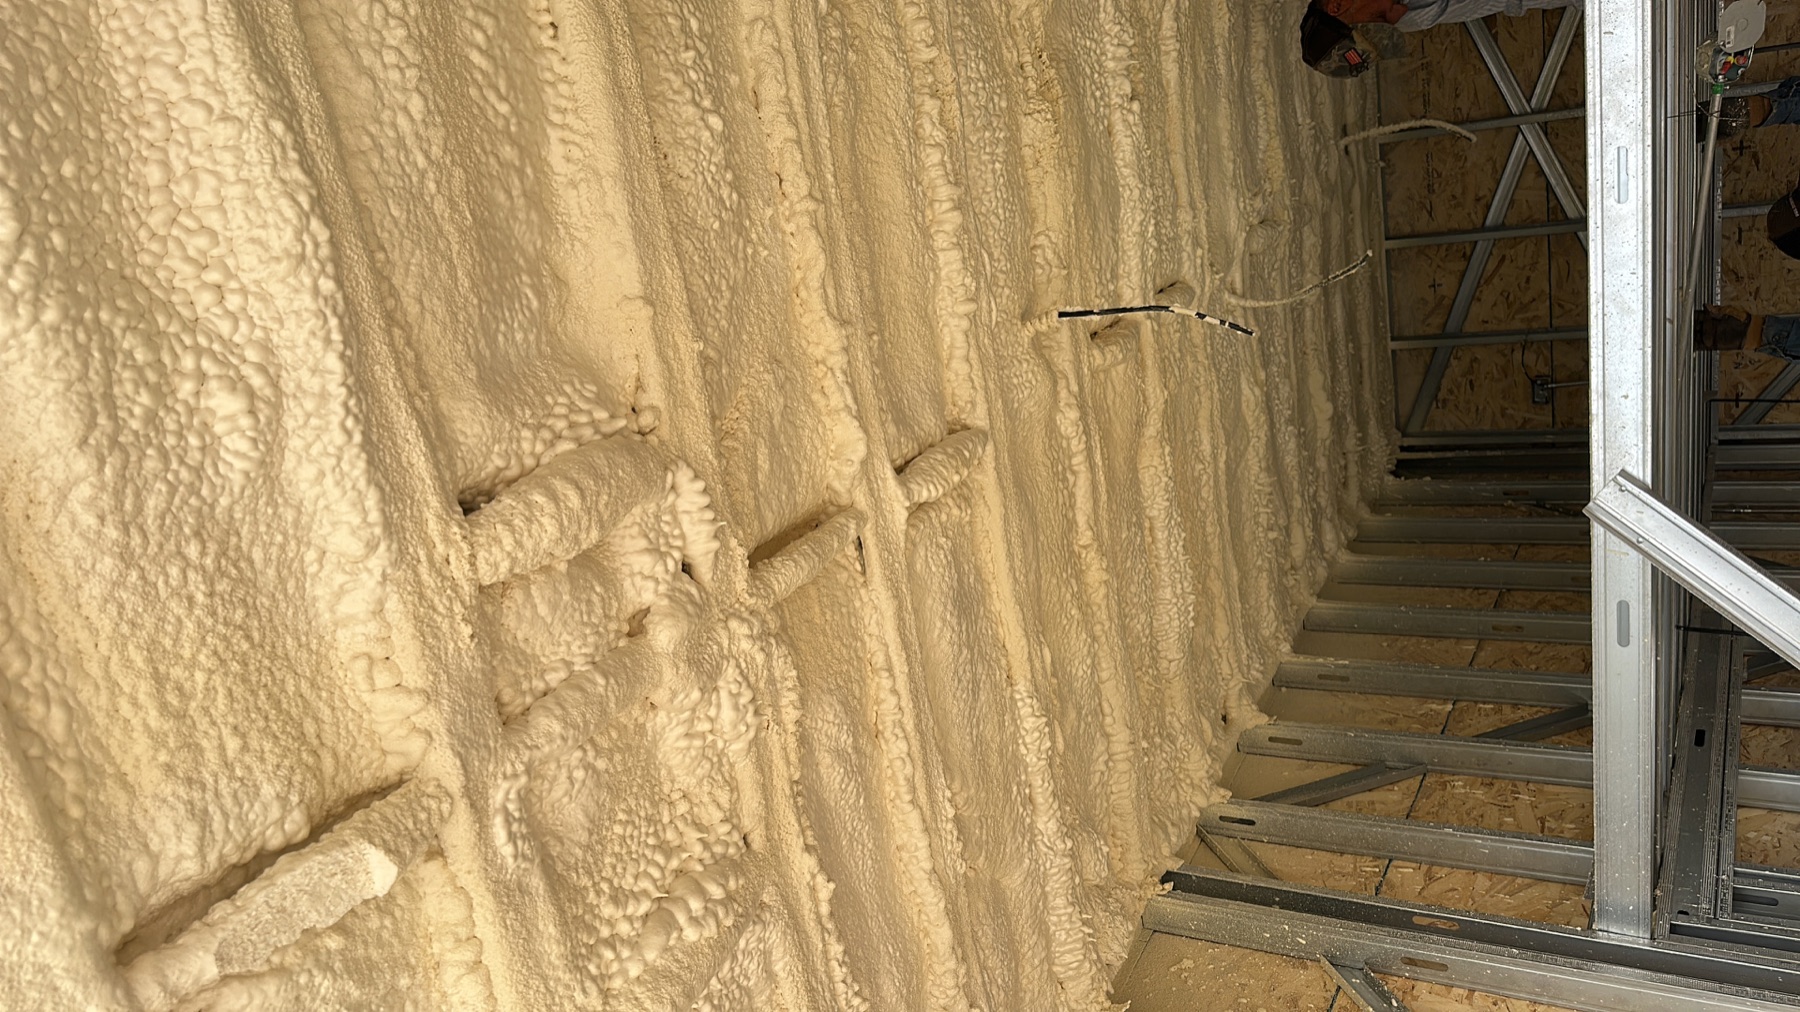
Spray-applied foam covers the roof assembly shown in this original build.

Weather-resistive layers and exterior panels form the outer assembly before final openings and trim are completed.
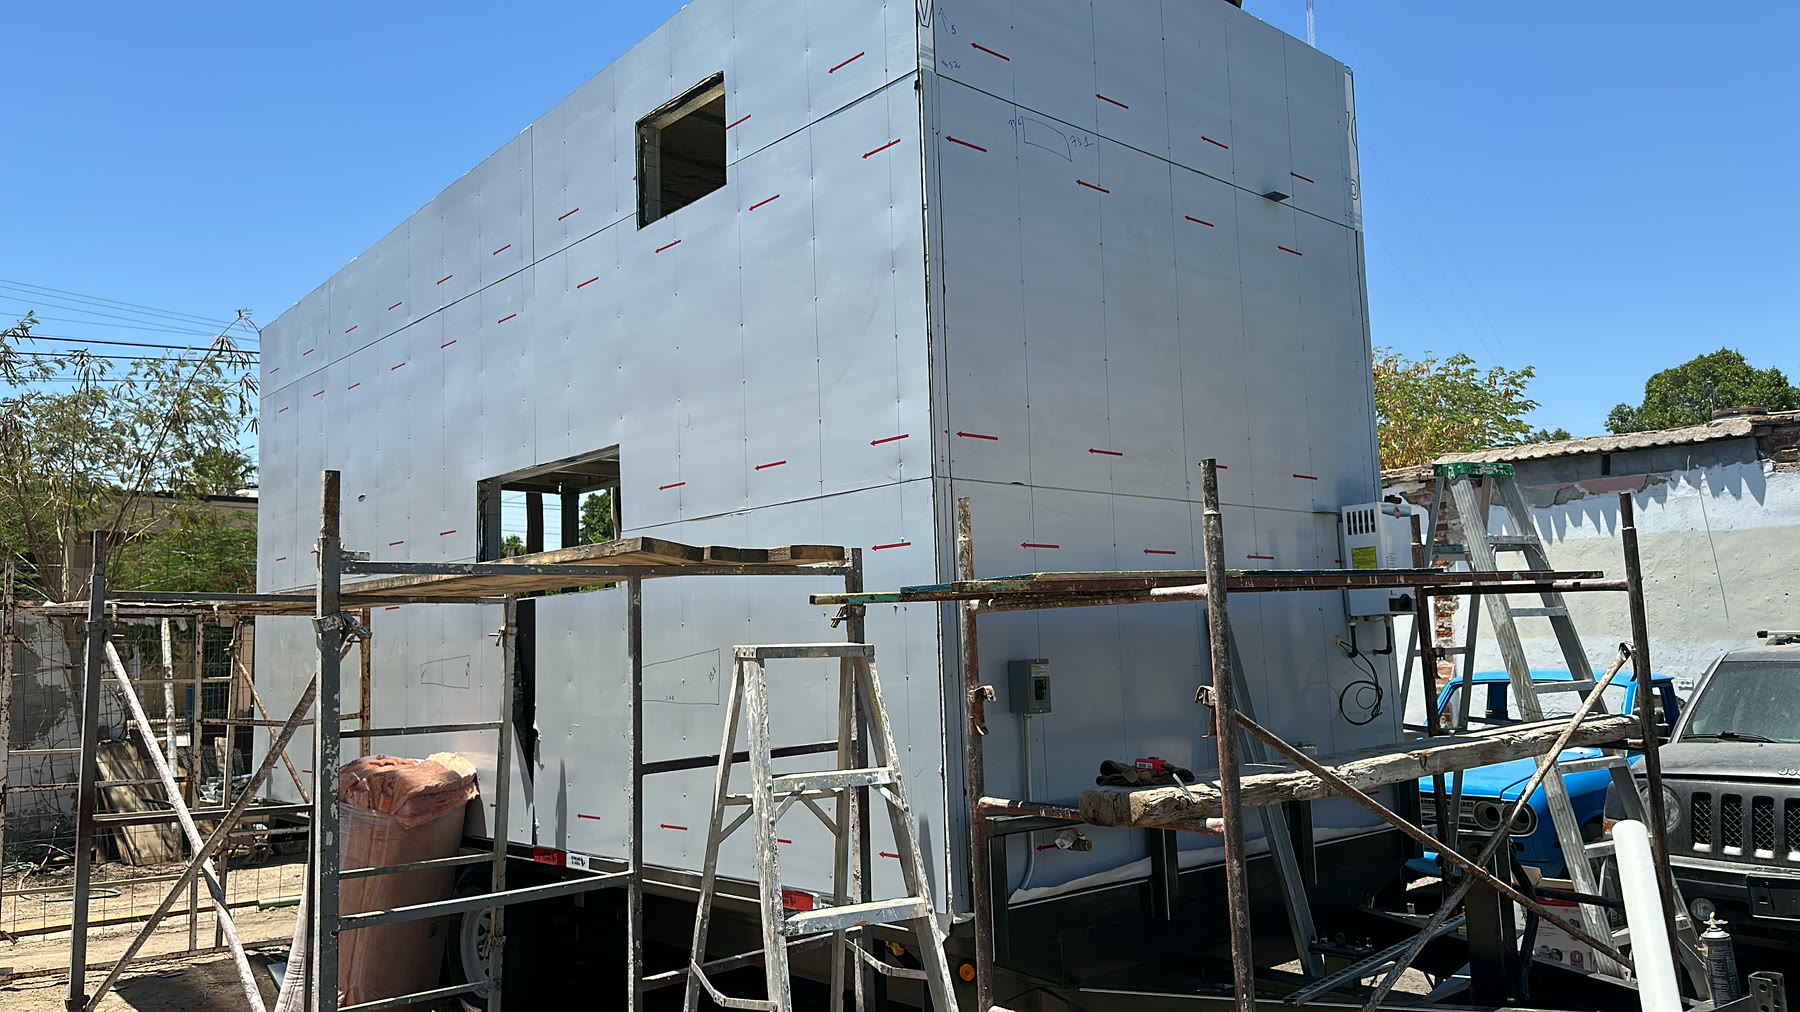
Protective panel layers cover the wrapped shell before the final exterior finish is applied.
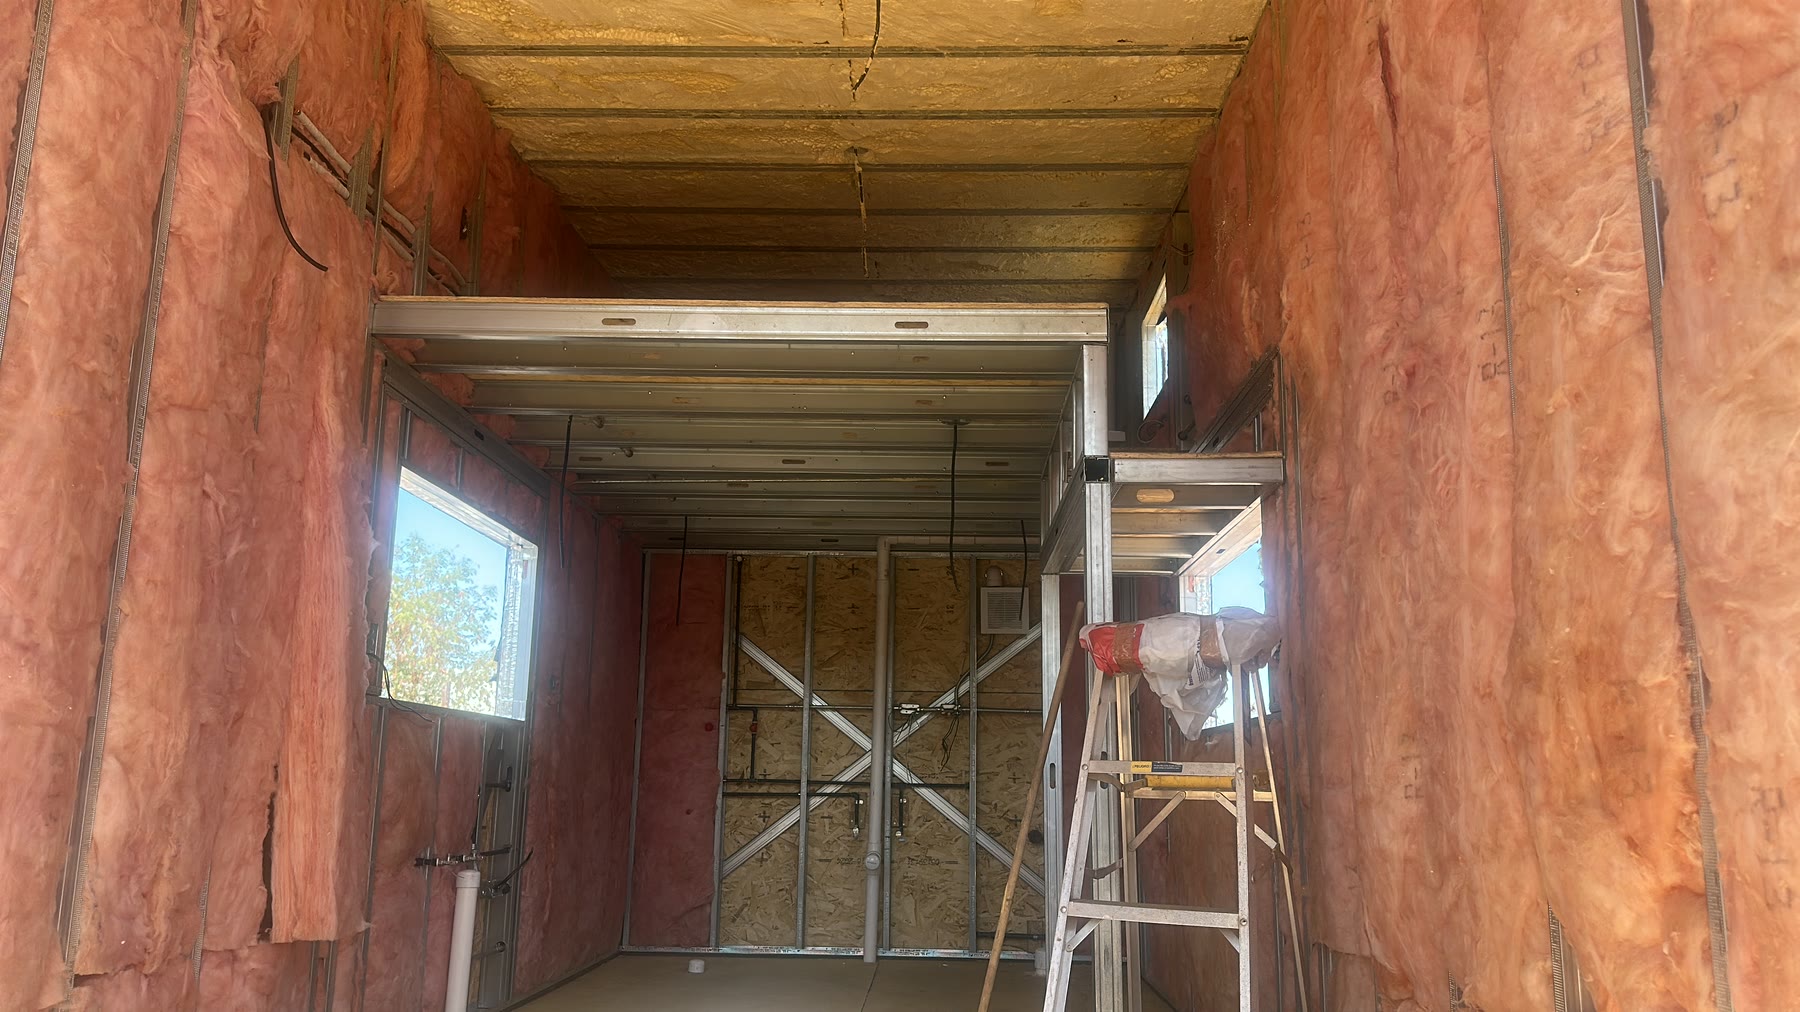
Fiberglass batts fill the wall cavities while spray-applied foam covers the overhead assembly.
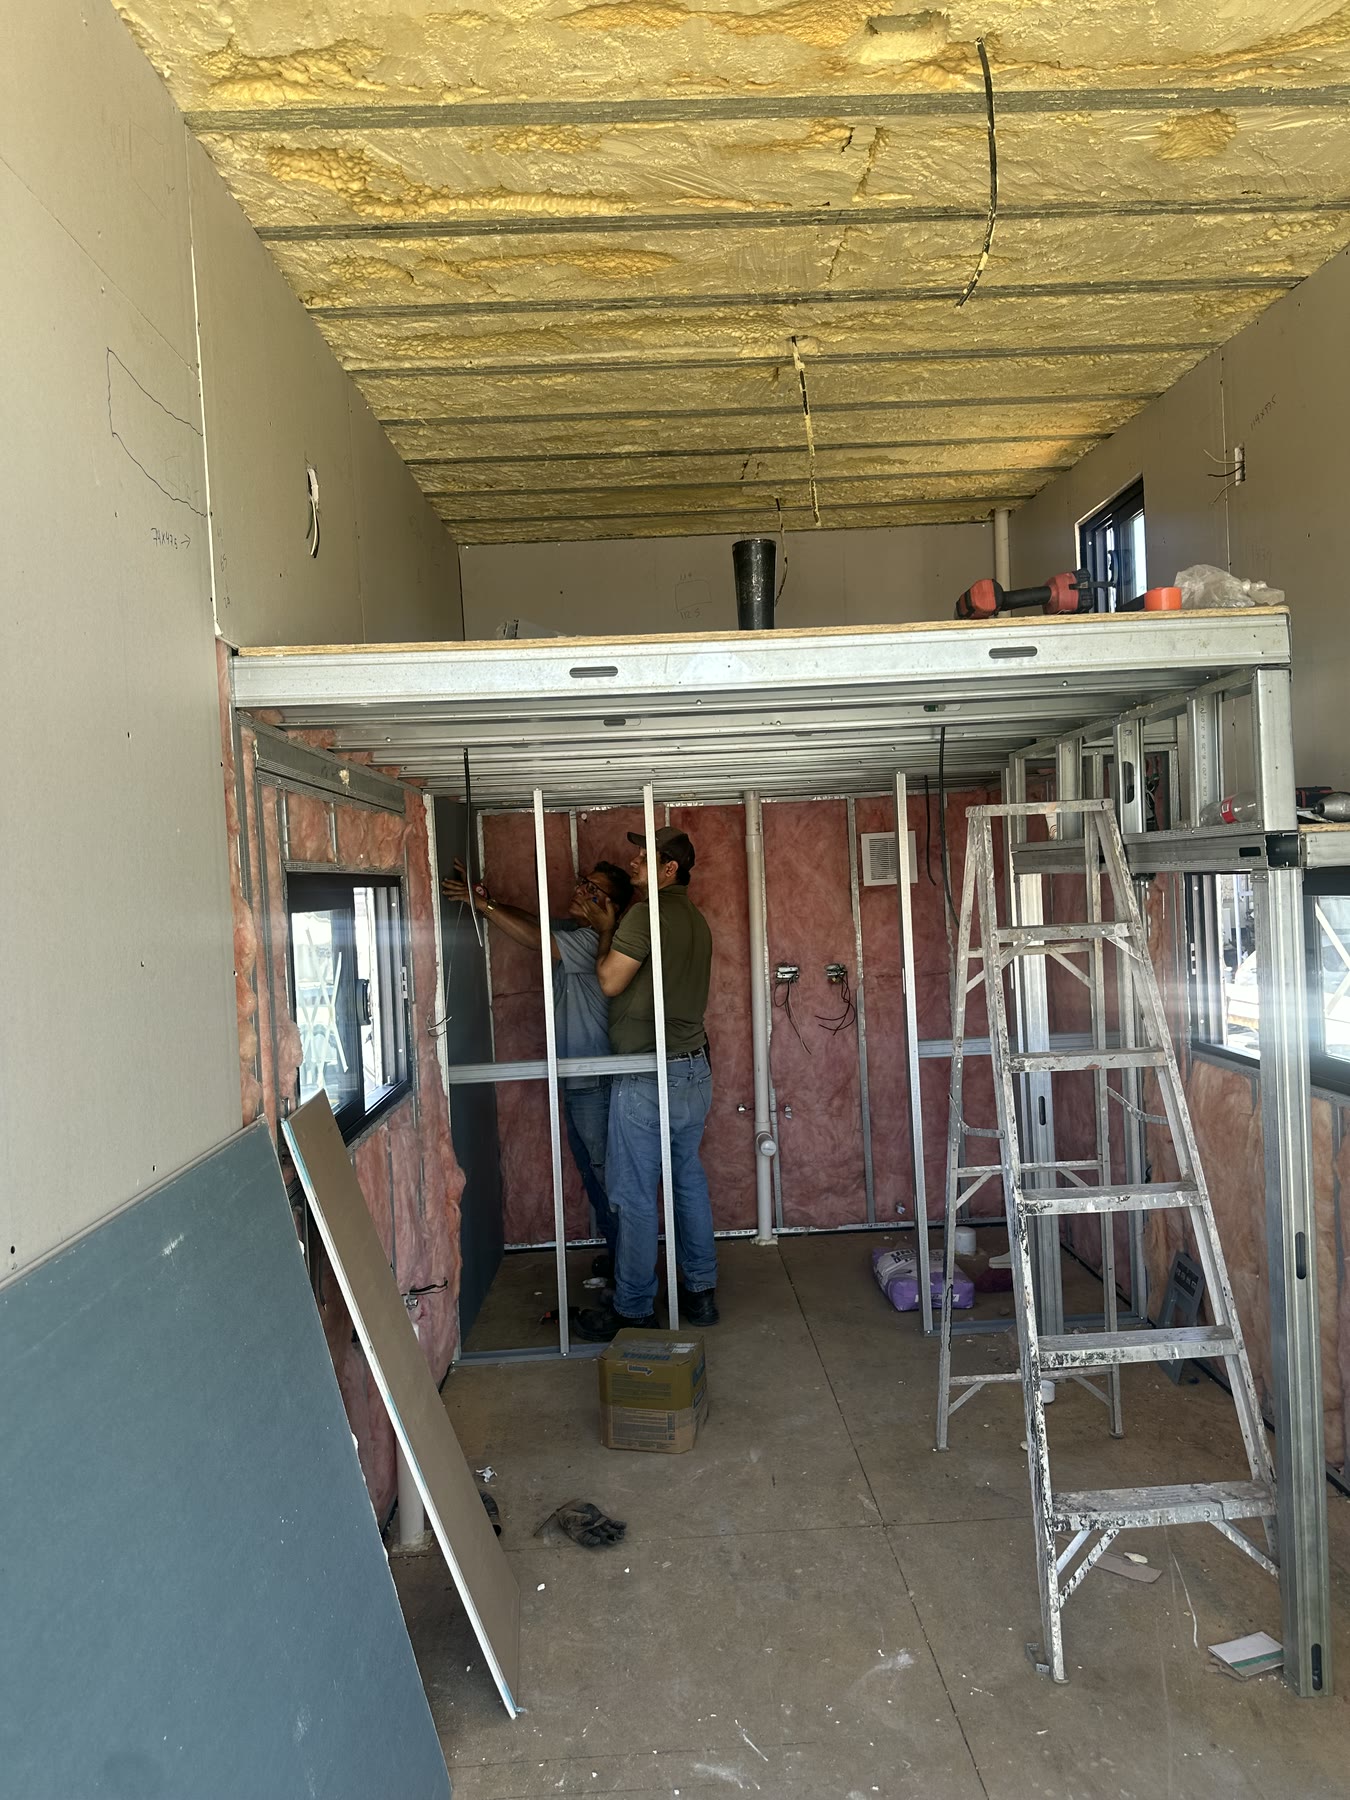
The crew closes walls and builds interior partitions around the loft while keeping service points accessible.
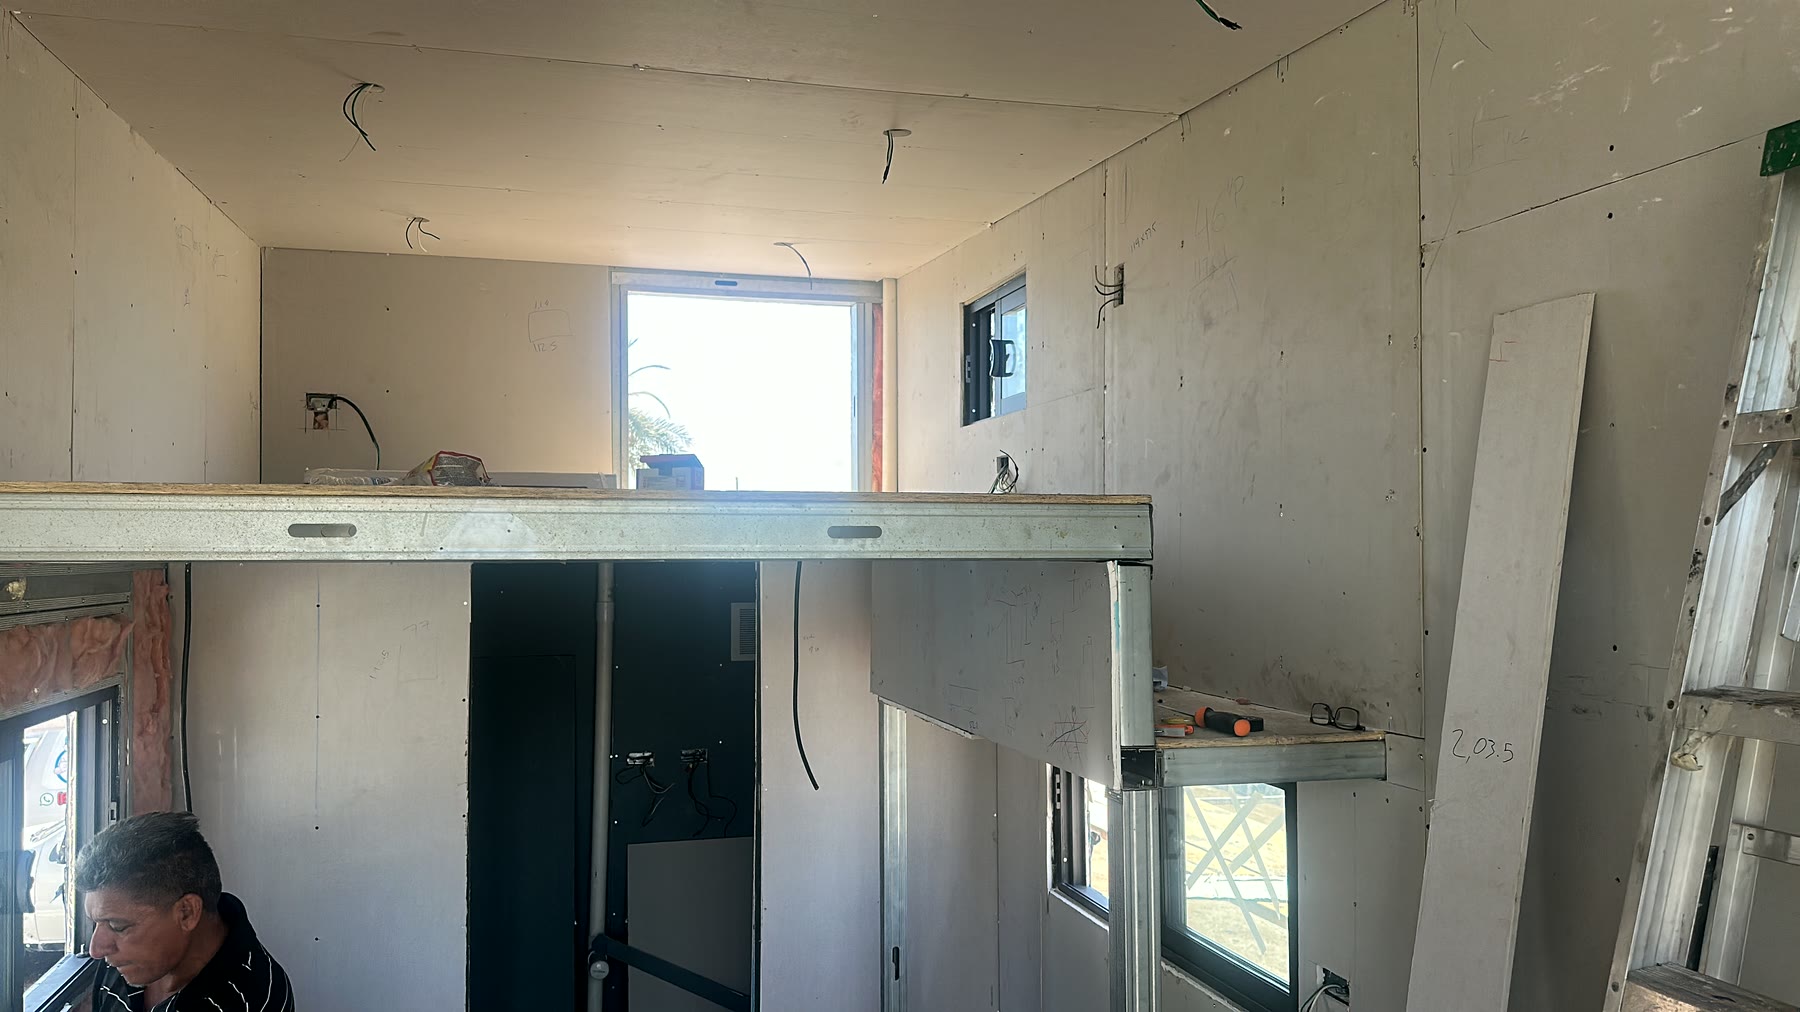
Interior board covers the walls and ceiling as the compact rooms move toward final finish work.
On-site walkthrough
This 20-second original walkthrough records wall insulation, the loft structure, windows, and interior board installation during the Rise20 build.
What the photographs show
Chassis, steel framing, loft, sheathing, rough-in work, roof and wall insulation, exterior-envelope layers, and interior close-in stages from an actual Rise20 build.
What the agreement controls
Chosen equipment, fixtures, finishes, production schedule, delivery plan, site conditions, and final-connection responsibilities are configuration-specific.
Your next best step
Bring your goals, location, budget range, and delivery questions to a focused 30-minute video consultation.